The AI-Native IDP -- Part 1
Why Your IDP Doesn't Help
The Problem
Your company bought into platform engineering. Someone set up Backstage. There’s a service catalog. There are templates. There’s even a TechDocs section with architecture decision records.
Nobody uses it.
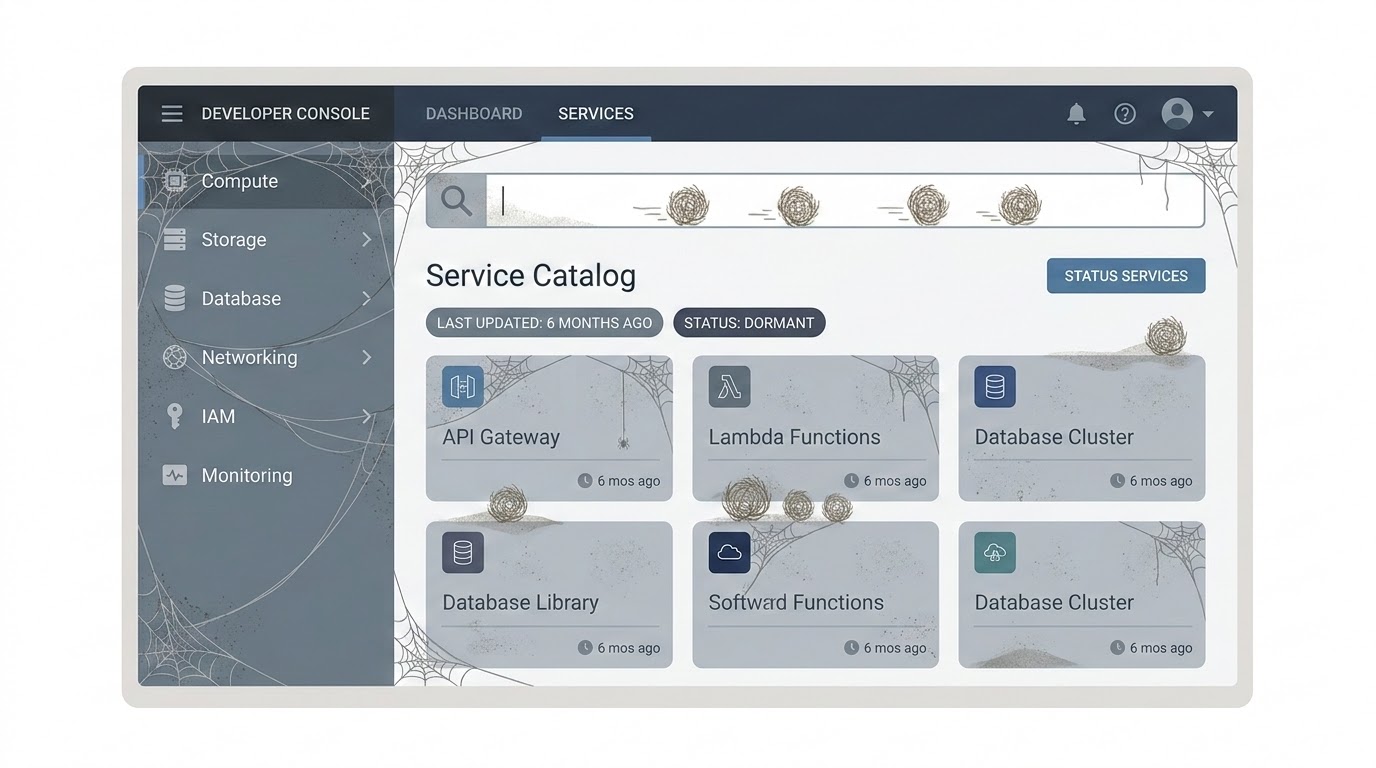
The catalog is six months out of date. Half the services don’t have owners listed. The templates generate projects with dependencies that haven’t been updated since the team that wrote them moved on. The TechDocs are a graveyard of good intentions — accurate when written, obsolete now.
This isn’t a Backstage problem. It’s a people problem. Developer platforms die because they need constant maintenance, and nobody has time for constant maintenance. The catalog needs someone to update it when services change. The templates need someone to keep dependencies current. The docs need someone to rewrite them when the architecture evolves.
I’ve seen this pattern in every enterprise I’ve worked with. The platform launches with energy. Six months later it’s a redirect nobody clicks. Twelve months later the team debates shutting it down.
The usual fix is to assign someone to maintain it. A “platform team.” But platform teams are expensive, and their work is invisible — keeping a catalog accurate doesn’t show up in sprint demos. The team gets pulled into feature work. The platform drifts. The cycle repeats.
There’s a different approach. What if the platform could maintain itself?
The Solution
An AI-native IDP is a developer platform where AI is not a feature you bolt on — it’s the engine that keeps everything alive.
The catalog updates itself because AI reads your repositories, detects changes, and updates service metadata automatically. Templates stay current because AI monitors dependency versions and proposes updates. Docs answer your questions because they’re backed by RAG over your actual codebase, not static markdown files.
The key shift: instead of a platform that developers must maintain, you build a platform that maintains itself and helps developers do their work faster.
This series builds that platform on Backstage — the most widely adopted open-source IDP framework. We’ll extend it with AI-powered plugins, one per article, until we have a complete AI-native developer platform.
What’s in This Series
- Why Your IDP Doesn’t Help — You’re reading it. The problem with traditional IDPs and what AI changes.
- Teaching Your Catalog to Think — AI that auto-documents services from their code: descriptions, dependencies, owners.
- AI-Powered Software Templates — A scaffolder where developers describe what they need in natural language and get a project with ATLAS+GOTCHA prompts prebuilt.
- The AI Code Review Plugin — PR reviews with architectural context from the catalog. The AI knows what service this is, who owns it, and what patterns it should follow.
- TechDocs That Answer Back — RAG over your internal documentation and ADRs. A chat interface inside Backstage that answers questions about your architecture.
- The Governance Dashboard — Metrics on AI-generated code across your org: how much, what quality, what cost, and where the gaps are.
- AI-Assisted Incident Response — Correlate alerts with the catalog and recent changes. Auto-generated runbooks. Context before the engineer even opens the terminal.
- The Complete AI-Native IDP — Reference architecture, deployment to Kubernetes, and the full plugin repository.
Tech Stack
| Layer | Technology |
|---|---|
| IDP Framework | Backstage (React + TypeScript) |
| AI Backend | ASP.NET Minimal API (.NET 10) |
| AI Models | OpenAI-compatible API (Mistral Large, Claude Sonnet, GPT-5, or any provider) |
| Embeddings | mistral-embed (or text-embedding-3-small) |
| Vector Store | PostgreSQL + pgvector |
| Auth | QuantumID (or any OIDC provider: Entra ID, Keycloak, Auth0) |
| Database | PostgreSQL (catalog metadata, metrics, audit) |
| Infrastructure | Kubernetes (Scaleway Kapsule, AKS, EKS, or any K8s cluster) |
| CI/CD | Azure DevOps (or GitHub Actions, GitLab CI) |
The AI backend is a separate .NET service that Backstage plugins call. This keeps the AI logic in a stack you control — not buried inside Backstage’s Node.js runtime. The Backstage frontend talks to its own backend-for-frontend, which proxies to the .NET AI service.
The AI service uses the OpenAI-compatible API — the same interface that Scaleway Generative APIs, Mistral AI, Azure AI Foundry, and OpenAI all expose. You pick the provider. The code doesn’t change. In this series we use Scaleway with Mistral Large — but you can swap to Claude Sonnet or GPT-5 by changing two environment variables.
Every technology choice in this series can be swapped — that’s the point of using standard protocols (OIDC, OpenAI-compatible API, Kubernetes). But the code examples and the forge repository on GitHub use a specific stack: QuantumID for auth, Scaleway Kapsule for K8s, Mistral Large for AI, and Azure DevOps for CI/CD. Each article maps to a tag so you can follow along step by step.

Execute
Let’s set up the foundation: a Backstage instance with QuantumID authentication and a basic Software Catalog populated from your repositories.
Step 1: Create the Backstage app
pnpm dlx @backstage/create-app@latest --skip-installWhen prompted for a name, use forge (or whatever your team calls the platform). This generates a Backstage 1.35+ app with the new backend system. Then install dependencies:
cd forge
pnpm install
Step 2: Configure OIDC authentication
Backstage supports OIDC providers out of the box. We use QuantumID here (OIDC with ML-DSA signatures), but the same setup works with Entra ID, Keycloak, Auth0, or any OIDC-compliant provider. The configuration is standard.
You need an OIDC application from your provider. For QuantumID, register for a business-beta account and follow the setup in article 4 of the Quantum-Safe Cloud series. For other providers, create an OIDC app in your dashboard. You’ll need a client_id, client_secret, and the discovery URL.
In app-config.yaml:
auth:
  environment: development
  session:
    secret: ${BACKEND_SECRET}
  providers:
    guest:
      dangerouslyAllowOutsideDevelopment: false
    oidc:
      development:
        metadataUrl: ${OIDC_METADATA_URL}    # e.g. https://auth.quantumapi.eu/.well-known/openid-configuration
        clientId: ${OIDC_CLIENT_ID}
        clientSecret: ${OIDC_CLIENT_SECRET}
        prompt: consent
        additionalScopes:
          - profile
          - email
The session.secret is required — without it, the OIDC passport strategy fails because it needs session support to manage the OAuth flow. The guest provider is there for local development without OIDC. In production, remove it and switch environment to production.
You also need to enable the backend auth key for service-to-service communication. In the backend section of app-config.yaml, uncomment the auth block:
backend:
  auth:
    keys:
      - secret: ${BACKEND_SECRET}
Add the backend auth module in packages/backend/src/modules/auth.ts:
import { createBackendModule } from '@backstage/backend-plugin-api';
import {
  authProvidersExtensionPoint,
  createOAuthProviderFactory,
} from '@backstage/plugin-auth-node';
import { oidcAuthenticator } from '@backstage/plugin-auth-backend-module-oidc-provider';

/**
 * OIDC sign-in module for Backstage.
 * Works with any OIDC provider: QuantumID, Entra ID, Keycloak, Auth0.
 */
export default createBackendModule({
  pluginId: 'auth',
  moduleId: 'oidc-sign-in',
  register(reg) {
    reg.registerInit({
      deps: { providers: authProvidersExtensionPoint },
      async init({ providers }) {
        providers.registerProvider({
          providerId: 'oidc',
          factory: createOAuthProviderFactory({
            authenticator: oidcAuthenticator,
            signInResolver: async ({ profile }, ctx) => {
              if (!profile.email) {
                throw new Error('OIDC profile missing email');
              }
              const userEntityRef = `user:default/${profile.email!.split('@')[0]}`;
              return ctx.signInWithCatalogUser({
                filter: { 'spec.profile.email': profile.email },
              }).catch(() => {
                // Auto-provision user on first login
                return ctx.issueToken({
                  claims: {
                    sub: userEntityRef,
                    ent: [userEntityRef],
                  },
                });
              });
            },
          }),
        });
      },
    });
  },
});
Then register it in packages/backend/src/index.ts:
backend.add(import('./modules/auth'));Set your environment variables:
export OIDC_METADATA_URL=https://auth.quantumapi.eu/.well-known/openid-configuration
export OIDC_CLIENT_ID=your_client_id
export OIDC_CLIENT_SECRET=your_client_secret
export BACKEND_SECRET=change-this-to-a-real-secret
The frontend needs a custom API ref for the OIDC provider and a sign-in page that offers it. In packages/app/src/apis.ts, add the OIDC API factory:
import {
  ScmIntegrationsApi,
  scmIntegrationsApiRef,
  ScmAuth,
} from '@backstage/integration-react';
import {
  AnyApiFactory,
  ApiRef,
  BackstageIdentityApi,
  configApiRef,
  createApiFactory,
  createApiRef,
  discoveryApiRef,
  OAuthApi,
  oauthRequestApiRef,
  OpenIdConnectApi,
  ProfileInfoApi,
  SessionApi,
} from '@backstage/core-plugin-api';
import { OAuth2 } from '@backstage/core-app-api';

export const oidcAuthApiRef: ApiRef<
  OAuthApi &
    OpenIdConnectApi &
    ProfileInfoApi &
    BackstageIdentityApi &
    SessionApi
> = createApiRef({
  id: 'auth.oidc',
});

export const apis: AnyApiFactory[] = [
  createApiFactory({
    api: scmIntegrationsApiRef,
    deps: { configApi: configApiRef },
    factory: ({ configApi }) => ScmIntegrationsApi.fromConfig(configApi),
  }),
  ScmAuth.createDefaultApiFactory(),
  createApiFactory({
    api: oidcAuthApiRef,
    deps: {
      discoveryApi: discoveryApiRef,
      oauthRequestApi: oauthRequestApiRef,
      configApi: configApiRef,
    },
    factory: ({ discoveryApi, oauthRequestApi, configApi }) =>
      OAuth2.create({
        discoveryApi,
        oauthRequestApi,
        provider: {
          id: 'oidc',
          title: 'QuantumID',
          icon: () => null,
        },
        defaultScopes: ['openid', 'profile', 'email'],
        environment: configApi.getOptionalString('auth.environment'),
      }),
  }),
];
Then update the SignInPage in packages/app/src/App.tsx to offer both QuantumID and guest login:
import { apis, oidcAuthApiRef } from './apis';

// ... in createApp:
components: {
  SignInPage: props => (
    <SignInPage
      {...props}
      providers={[
        {
          id: 'oidc',
          title: 'QuantumID',
          message: 'Sign in with QuantumID (OIDC)',
          apiRef: oidcAuthApiRef,
        },
        'guest',
      ]}
    />
  ),
},
The generic oidcAuthApiRef was removed from Backstage in a previous version, so you need to create your own. The OAuth2.create() factory handles the full OAuth2/OIDC flow — it works with any OIDC provider, not just QuantumID.
Also add GitHub integration in app-config.yaml so Backstage can read repositories and the scaffolder can publish new ones:
integrations:
  github:
    - host: github.com
      token: ${GITHUB_TOKEN}  # Personal access token with repo scope
Create a GitHub Personal Access Token with repo scope and export it:
export GITHUB_TOKEN=ghp_your_token_hereStep 3: Populate the Software Catalog
The catalog is the core of Backstage. Every service, library, and infrastructure component gets a catalog-info.yaml at the root of its repository.
Here’s one for the users API from the ATLAS+GOTCHA series:
# catalog-info.yaml (in users-api repo)
apiVersion: backstage.io/v1alpha1
kind: Component
metadata:
  name: users-api
  description: REST API for user management with JWT authentication
  annotations:
    github.com/project-slug: victorZKov/users-api
    backstage.io/techdocs-ref: dir:.
  tags:
    - dotnet
    - postgresql
    - kubernetes
  links:
    - url: https://users-api.victorz.cloud/healthz
      title: Health Check
      icon: dashboard
spec:
  type: service
  lifecycle: production
  owner: team-platform
  system: victorz-cloud
  providesApis:
    - users-api
---
apiVersion: backstage.io/v1alpha1
kind: API
metadata:
  name: users-api
  description: Users CRUD + JWT authentication
spec:
  type: openapi
  lifecycle: production
  owner: team-platform
  definition:
    $text: ./openapi.yaml
Register the location in app-config.yaml:
catalog:
  locations:
    - type: url
      target: https://github.com/victorZKov/users-api/blob/main/catalog-info.yaml
      rules:
        - allow: [Component, API]

    - type: url
      target: https://github.com/victorZKov/ScraperAgent/blob/main/catalog-info.yaml
      rules:
        - allow: [Component, API]
This works for a handful of services. In a real enterprise, you’d use the GitHub Discovery provider to auto-detect every catalog-info.yaml across your org — no manual registration needed. We keep it simple here because we’ll automate catalog discovery with AI in article 2.
Step 4: Add a basic Software Template
Templates are how Backstage helps developers create new services. Here’s a simple .NET API template:
# templates/dotnet-api/template.yaml
apiVersion: scaffolder.backstage.io/v1beta3
kind: Template
metadata:
  name: dotnet-api
  title: .NET API Service
  description: Create a new .NET 10 API with PostgreSQL, JWT auth, and K8s deployment
  tags:
    - dotnet
    - api
    - recommended
spec:
  owner: team-platform
  type: service

  parameters:
    - title: Service Details
      required:
        - name
        - description
        - owner
      properties:
        name:
          title: Service Name
          type: string
          pattern: '^[a-z0-9-]+$'
          ui:help: 'Lowercase, dashes only. Example: invoice-api'
        description:
          title: Description
          type: string
        owner:
          title: Owner
          type: string
          ui:field: OwnerPicker

    - title: Infrastructure
      properties:
        database:
          title: Database
          type: string
          enum: ['postgresql', 'none']
          default: postgresql
        auth:
          title: Authentication
          type: string
          enum: ['oidc-jwt', 'api-key', 'none']
          default: oidc-jwt
        kubernetes:
          title: Deploy to Kubernetes
          type: boolean
          default: true

  steps:
    - id: fetch
      name: Fetch Skeleton
      action: fetch:template
      input:
        url: ./skeleton
        values:
          name: ${{ parameters.name }}
          description: ${{ parameters.description }}
          owner: ${{ parameters.owner }}
          database: ${{ parameters.database }}
          auth: ${{ parameters.auth }}
          kubernetes: ${{ parameters.kubernetes }}

    - id: publish
      name: Publish to Git
      action: publish:github  # or publish:gitlab, publish:azure-devops
      input:
        repoUrl: github.com?owner=victorZKov&repo=${{ parameters.name }}
        description: ${{ parameters.description }}
        defaultBranch: main
        repoVisibility: private

    - id: register
      name: Register in Catalog
      action: catalog:register
      input:
        repoContentsUrl: ${{ steps.publish.output.repoContentsUrl }}
        catalogInfoPath: /catalog-info.yaml

  output:
    links:
      - title: Repository
        url: ${{ steps.publish.output.remoteUrl }}
      - title: Open in Catalog
        icon: catalog
        entityRef: ${{ steps.register.output.entityRef }}
This template is static — it generates from a fixed skeleton. In article 3, we’ll replace this with an AI-powered scaffolder that takes a natural language description and generates a project with GOTCHA prompts tailored to the service.
Step 5: Run it
pnpm devOpen http://localhost:3000. You’ll see the Backstage UI with your catalog, your template, and OIDC login.
This is the foundation. It’s a standard Backstage setup — nothing AI about it yet. The catalog is manual. The template is static. The docs are files.
Starting from article 2, we change that. Each article adds a plugin that makes one part of the platform intelligent.
Checklist
- Backstage app created and running locally
- OIDC authentication configured (QuantumID, Entra ID, Keycloak, or your provider)
- At least two services registered in the Software Catalog
- One Software Template available (even if static)
- All secrets in environment variables, not in config files
-
catalog-info.yamlcommitted to each service repository
Before the Next Article
Look at your Software Catalog. How many services are listed? Now open one and check the description. Is it accurate? Is the owner correct? When was it last updated?
If you’re like most teams, at least one field is wrong. That’s the problem we solve in article 2: a Backstage plugin that reads your code, understands what the service does, and keeps the catalog accurate — without anyone maintaining it by hand.
If this series helps you, consider buying me a coffee.
This is article 1 of the AI-Native IDP series. Next: Teaching Your Catalog to Think — AI that auto-documents your services from their source code.
Loading comments...